iPhone photos automatically include GPS coordinates when location services are enabled. This guide shows you multiple ways to extract and view this location data from your iPhone photos.
And if you want to set or correct the location on an iPhone photo rather than just read it, you can add GPS to a photo online in seconds.
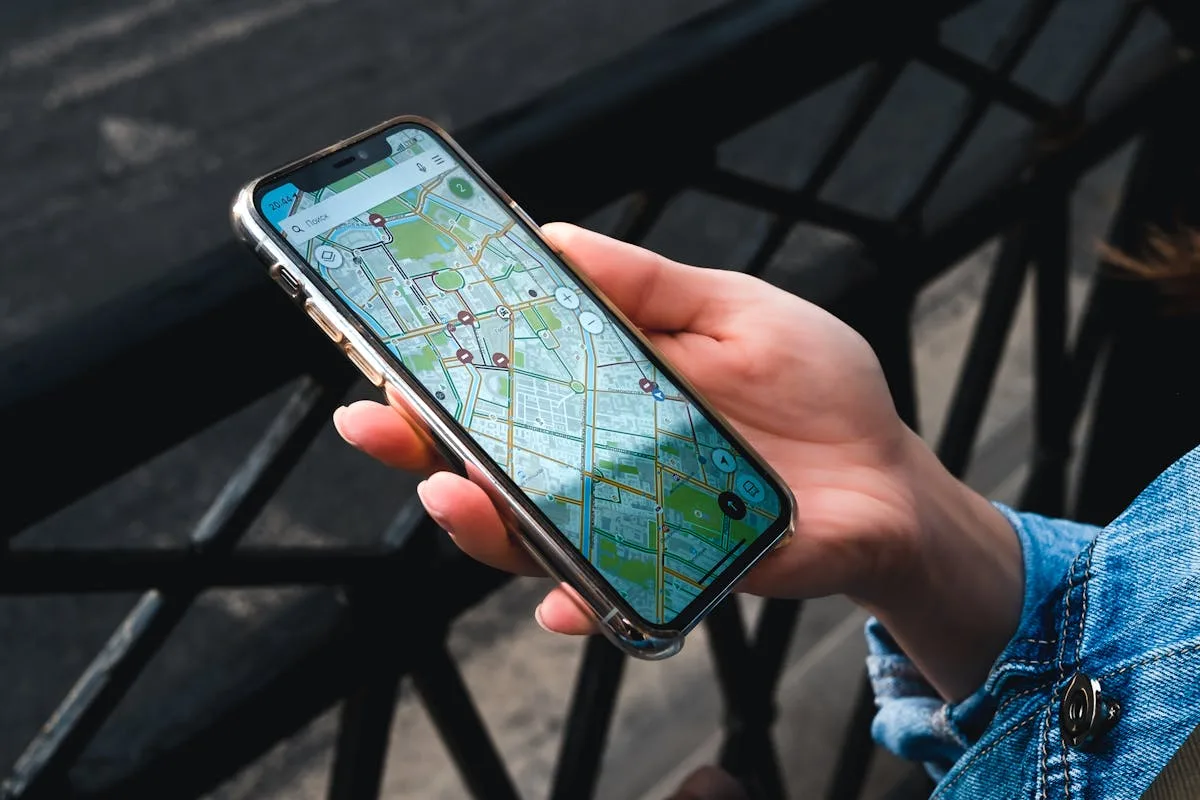
Method 1: Using the Photos App (Easiest)
- Open the Photos app on your iPhone
- Select the photo you want to check
- Swipe up on the photo to reveal photo details
- Look for the Location section
- Tap on the location to open it in Maps
- In Maps, you can see the exact coordinates in the search bar
Method 2: Using GeoTag.world (Most Detailed)
For more detailed GPS information and the ability to edit coordinates:
- Go to GeoTag.world in your browser
- Upload your iPhone photo
- View detailed GPS coordinates, altitude, and other EXIF data
- Edit or update location information if needed
- Download the photo with updated metadata
Method 3: Using Files App
If you've saved photos to Files or iCloud Drive:
- Open the Files app
- Navigate to your photo
- Long press on the photo
- Select Quick Look
- Swipe up to see location details
Troubleshooting Common Issues
No Location Data Found
- Check if Location Services is enabled
- Ensure Camera app has location permission
- Verify you're outdoors or near a window for GPS signal
- Check if the photo was taken before enabling location services
Inaccurate Coordinates
- GPS accuracy depends on signal strength
- Indoor photos may have less accurate coordinates
- Older photos might have been geotagged with less precise methods
Privacy Considerations
iPhone photos with GPS data can reveal your exact location. Always remove location data before sharing photos on social media or with strangers.
Best Practices
- Keep Location Services enabled for accurate geotagging
- Check GPS accuracy before taking important photos
- Use consistent privacy settings across all apps
- Regularly review and clean up location data
How to Enable Location for iPhone Camera
If your iPhone photos are missing GPS data, the camera app's location permission is the first thing to check.
Step by step:
- Open the Settings app
- Tap Privacy & Security
- Tap Location Services
- Scroll down and tap Camera
- Select While Using the App
- Return to Camera and take a test photo, then check it for location data
The option "Never" disables GPS entirely for the camera. "Ask Next Time" prompts you each session but may default to off if you previously denied it. "While Using the App" is the correct setting for consistent geotagging. Note that "Precise Location" must also be enabled (there is a toggle beneath the permission options) — without it, iOS only provides an approximate location rather than exact GPS coordinates.
Why it might be off: iOS asks for camera location permission when you first install or open the camera app. If you tapped "Don't Allow" during setup, the permission stays off until you manually change it in Settings. iOS never re-asks unless you reset location permissions.
Why iPhone Photos Sometimes Lose GPS Data
Even with location permissions correctly set, some iPhone photos end up without GPS data. Here are the most common causes:
Airplane mode during travel: When airplane mode is on, GPS is also disabled by default. You can re-enable GPS while keeping cellular and Wi-Fi off by going to Settings > Privacy & Security > Location Services and checking that it remains on, but this behavior changed across iOS versions. The safest approach when traveling is to turn off airplane mode briefly before shooting important photos.
Low Power Mode: iOS Low Power Mode reduces background activity including location services. If your battery drops below 20% and Low Power Mode activates, the camera may stop recording precise GPS coordinates. The fix is to disable Low Power Mode before a shoot or charge your phone.
GPS lock delay on the first outdoor shot: When you step outside from a building and immediately open the camera, the GPS receiver may not yet have acquired satellites. The first 1–3 photos taken in those first 30 seconds outdoors may carry no coordinates or carry the last known indoor position. This is normal behavior — wait a moment after stepping outside before taking location-critical shots.
Privacy settings per app: Third-party camera apps have their own location permissions separate from Apple's built-in Camera app. If you use ProCamera, Halide, or another camera app, verify its location permission is also set to "While Using the App" in Settings > Privacy & Security > Location Services.
Shooting underground or in basements: GPS signals do not penetrate concrete and steel. Any photo taken underground — subway, basement, parking garage — will have no GPS data. This is a physical limitation of satellite-based positioning.
See what your photo is actually revealing
Drop a photo to view its GPS location and full EXIF. Everything runs in your browser — the file never leaves your device.
100% in-browser — nothing is uploaded or stored
How to Check GPS Data on an iPhone Photo Without Uploading
You do not need to upload a photo to a third-party service to check whether it contains location data.
Using the Photos app on iPhone:
- Open Photos and select a photo
- Swipe up on the photo (or tap the info button at the bottom)
- If the photo has GPS data, a small map will appear at the bottom of the info panel showing where it was taken
- Tap the map to open it full-screen in Maps, where you can see the address and coordinates
If no map appears after swiping up, the photo has no GPS data embedded.
Using Mac Photos app:
- Open Photos on your Mac
- Double-click a photo to view it
- Click the Info button (the circled i) in the toolbar
- The info panel shows GPS coordinates and a map preview if location data is present
Using Mac Preview:
- Open a photo in Preview
- Go to Tools > Show Inspector
- Click the GPS tab
- Coordinates display if present, or the tab shows empty fields
Using Mac Finder:
- Select the photo file in Finder
- Press Command + I (Get Info)
- The info panel does not show GPS directly, but you can see the file size and modification date
- For GPS you need Preview or Photos
What Gets Stripped When You Share iPhone Photos
This is one of the most important things to understand about iPhone photo sharing. The behavior varies significantly by method:
AirDrop: Keeps all metadata intact, including full GPS coordinates, camera settings, and timestamps. AirDrop sends the original file unchanged. If you AirDrop a photo of your home to someone, they receive the exact GPS coordinates of your home.
iMessage (iOS 13 and later): Strips GPS data by default when sending photos. Apple added this privacy protection in iOS 13. The recipient's copy contains no location data. However, if you send the photo as a file attachment using the "Files" option rather than the standard photo share, metadata may be preserved — behavior can vary.
Email: Depends on the email client. Apple Mail on iOS does not strip metadata by default. If you attach a photo to an email using the standard share sheet, the full EXIF including GPS is sent. Recipients can extract coordinates from email attachments.
Social media (Instagram, Facebook, Twitter, TikTok): All strip GPS data server-side before displaying or allowing download of photos. However, the original file with GPS is transmitted to their servers during upload. The platform has access to your location data even though it is not visible to other users.
WhatsApp: Strips all metadata including GPS when sending photos through the standard photo share. If you send a photo as a "Document" in WhatsApp, metadata is preserved.
Dropbox and Google Drive: Both preserve metadata completely. Uploading a photo to Dropbox or Drive and sharing a link means the recipient downloading the file receives all original EXIF including GPS.
Troubleshooting: GPS Shows Wrong Location on iPhone
Time zone not set correctly: If your iPhone's time zone is set incorrectly — for example, it still shows your home time zone while you are traveling internationally — GPS coordinates themselves are not affected (GPS is independent of time zone), but any GPS track log matching you do later will be off by the time zone difference. Always ensure automatic time zone is enabled in Settings > General > Date & Time.
Photo edited and location reset: Some third-party editing apps strip or alter GPS data when they export a processed version of a photo. If you edited a photo in a non-Apple app and the edited version lacks GPS, the original in your Photos library still has the coordinates. You can re-export from the original, or manually add coordinates back using GeoTag.World.
iCloud sync issues: In rare cases, photos synced from iCloud may lose GPS data if a sync error occurred or if the photo was processed through an older iCloud version. If a cloud-synced photo is missing GPS that you know was present, try deleting it from the device and re-downloading from iCloud, or check the original on the device where it was taken.
How to Add Location to an iPhone Photo That's Missing GPS
If a photo is missing GPS data, you can add it manually.
Using GeoTag.World:
- Open GeoTag.World in your browser
- Upload the photo
- In the GPS fields, enter the latitude and longitude of where the photo was taken
- Use Google Maps to find the exact coordinates: navigate to the location, right-click, and copy the coordinates
- Click save and download the updated photo
- The downloaded file contains the GPS coordinates you entered
Using Geotag Photos Pro (iOS app): This app records a GPS track log while you shoot and can retroactively match timestamps from your camera photos to the track log, automatically assigning coordinates. It is particularly useful for photographers who shoot with a separate camera but carry their iPhone.
Looking up coordinates in Google Maps: Navigate to the location in Google Maps on your computer. Right-click the exact spot and the coordinates appear at the top of the context menu. Click them to copy. Use these in GeoTag.World to embed them in your photo.